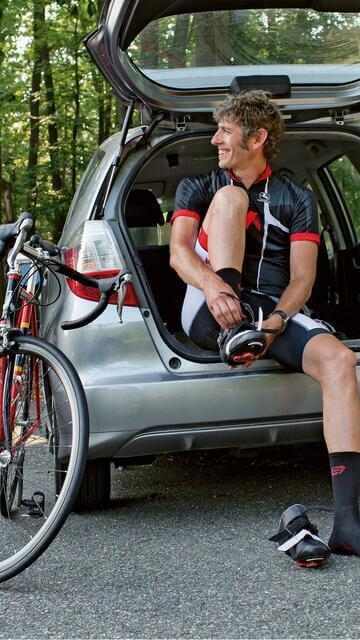
1. General Bike Condition:
To start with, it's important to check the overall condition of your bike. Ensure that your bike doesn't show any signs of apparent fragility. This involves meticulously inspecting all the tubes of your bike. Check the paint and any possible frame deformations. If in doubt, visit your bike dealer and seek advice! Also, inspect the handlebar tape and the condition of the saddle.
2. Transmission
These checks are crucial because it's through your bike's transmission that you'll be able to use all your strength to move forward and reach the finish line! Begin by ensuring that your chain is in good condition and not overly worn. This can be done using a simple and inexpensive tool. Then, make sure that all gears shift smoothly! Start with the small chainring and shift through all the cogs. Do the same on the big chainring. If everything is smooth, you can apply a little oil to the chain and move on to the next tip! If not, either adjust it yourself if you're capable, or visit your bike dealer!
🔋 Bonus tip for electronic transmissions: make sure to fully charge your batteries 😉
3. Wheels
Also a very important element for completing a race properly, the wheels. Start by checking that they are not warped and do not have flat spots. Also, ensure that the axles are properly in place in their housings and that the nuts are tight. This is the time to check tire pressure. There are several online pressure calculators to help you optimize pressure based on your weight, the type of tires used, and the road surface. Finally, check the condition of the tread. Slowly spin the wheel and look for any holes, cuts, or significant wear. If so, it may be time to change your tire. Indeed, a worn tire significantly increases the risk of puncture! So even though the Tour de France stage races offer assistance, it's always better not to puncture! - Wheel tightening - Tire pressure - Tread condition.
4. Braking
Now it's time to check your bike's brakes. There are two main types of braking, rim brakes or disc brakes. First, for rim brakes, check that the pads are not too worn, this is easily done with markings on the side of the pads. Don't hesitate to replace them if they are close to this mark. Brake pads are inexpensive, and it would be a shame to suffer from brake failure for the sake of a few saved pennies. Also, ensure that the pads are properly aligned with the rims. Finally, check the braking surface on your rims. They should not be grooved or too dirty. For disc braking, first, check that your brake pads are still good. The minimum pad thickness is indicated on the pads. Also, check that your brake levers have a direct and firm action. If not, it may be necessary to bleed the braking system. For this, consult your dealer!
5. Tightening all screws
To finish this check, it's advisable to check the tightening of all the screws on your bike. On most bikes, the tightening torque is indicated right next to the screw, so respect it! To tighten while respecting this torque, it's essential to use a torque wrench. If you don't have one, visit your bike dealer!
6. GPS charging and course tracking
Finally, for your comfort and effective management of your effort, the organizer provides you with the GPS track of the race! Use it! To do this, you'll need to use your GPS app. Get help from a friend if needed. This step is very useful before the race to study the course in detail, especially the climbs. Then during the race to precisely locate your progress and decide with greater accuracy when to attack and give your last effort in this ascent. Or not!